June 21, 2021

La Cruz de Comal Organic Winery Discovery

Cruising through the Texas Hill Country on Father’s Day with my in-laws, we discovered a gem of a winery! Organic winemaking is not all that common yet in Texas but at La Cruz De Comal Winery in New Braunfels, Texas, proprietor Lewis Dickson is pioneering the making of wine, the old-world Italian way. Lewis’ organically produced wines and tasting room are nothing short of fantastic. 


His unique and upscaled rustic tasting room was built from materials on his estate. He was inspired by French wineries, and the atmosphere inside the air-conditioned building is nothing less than transportive. According to Lewis, who greets you at the door with a plethora of information on winemaking, he had been fascinated with making wine since a very young age and was most enamored with the traditional ways of making wine in small batches with no additives, and aging the wine in oak barrels. His wines are made in small batches without sulfites or extra processing which is something Lewis is very proud of. The organic wine he is making because of his wine principles is showing some delicious results for us wine drinkers. The red wines we tasted were clean, crisp, peppery, and one blended batch was exceptional. One of his wines shone the brightest and is the reason why I am featuring it on my blog.

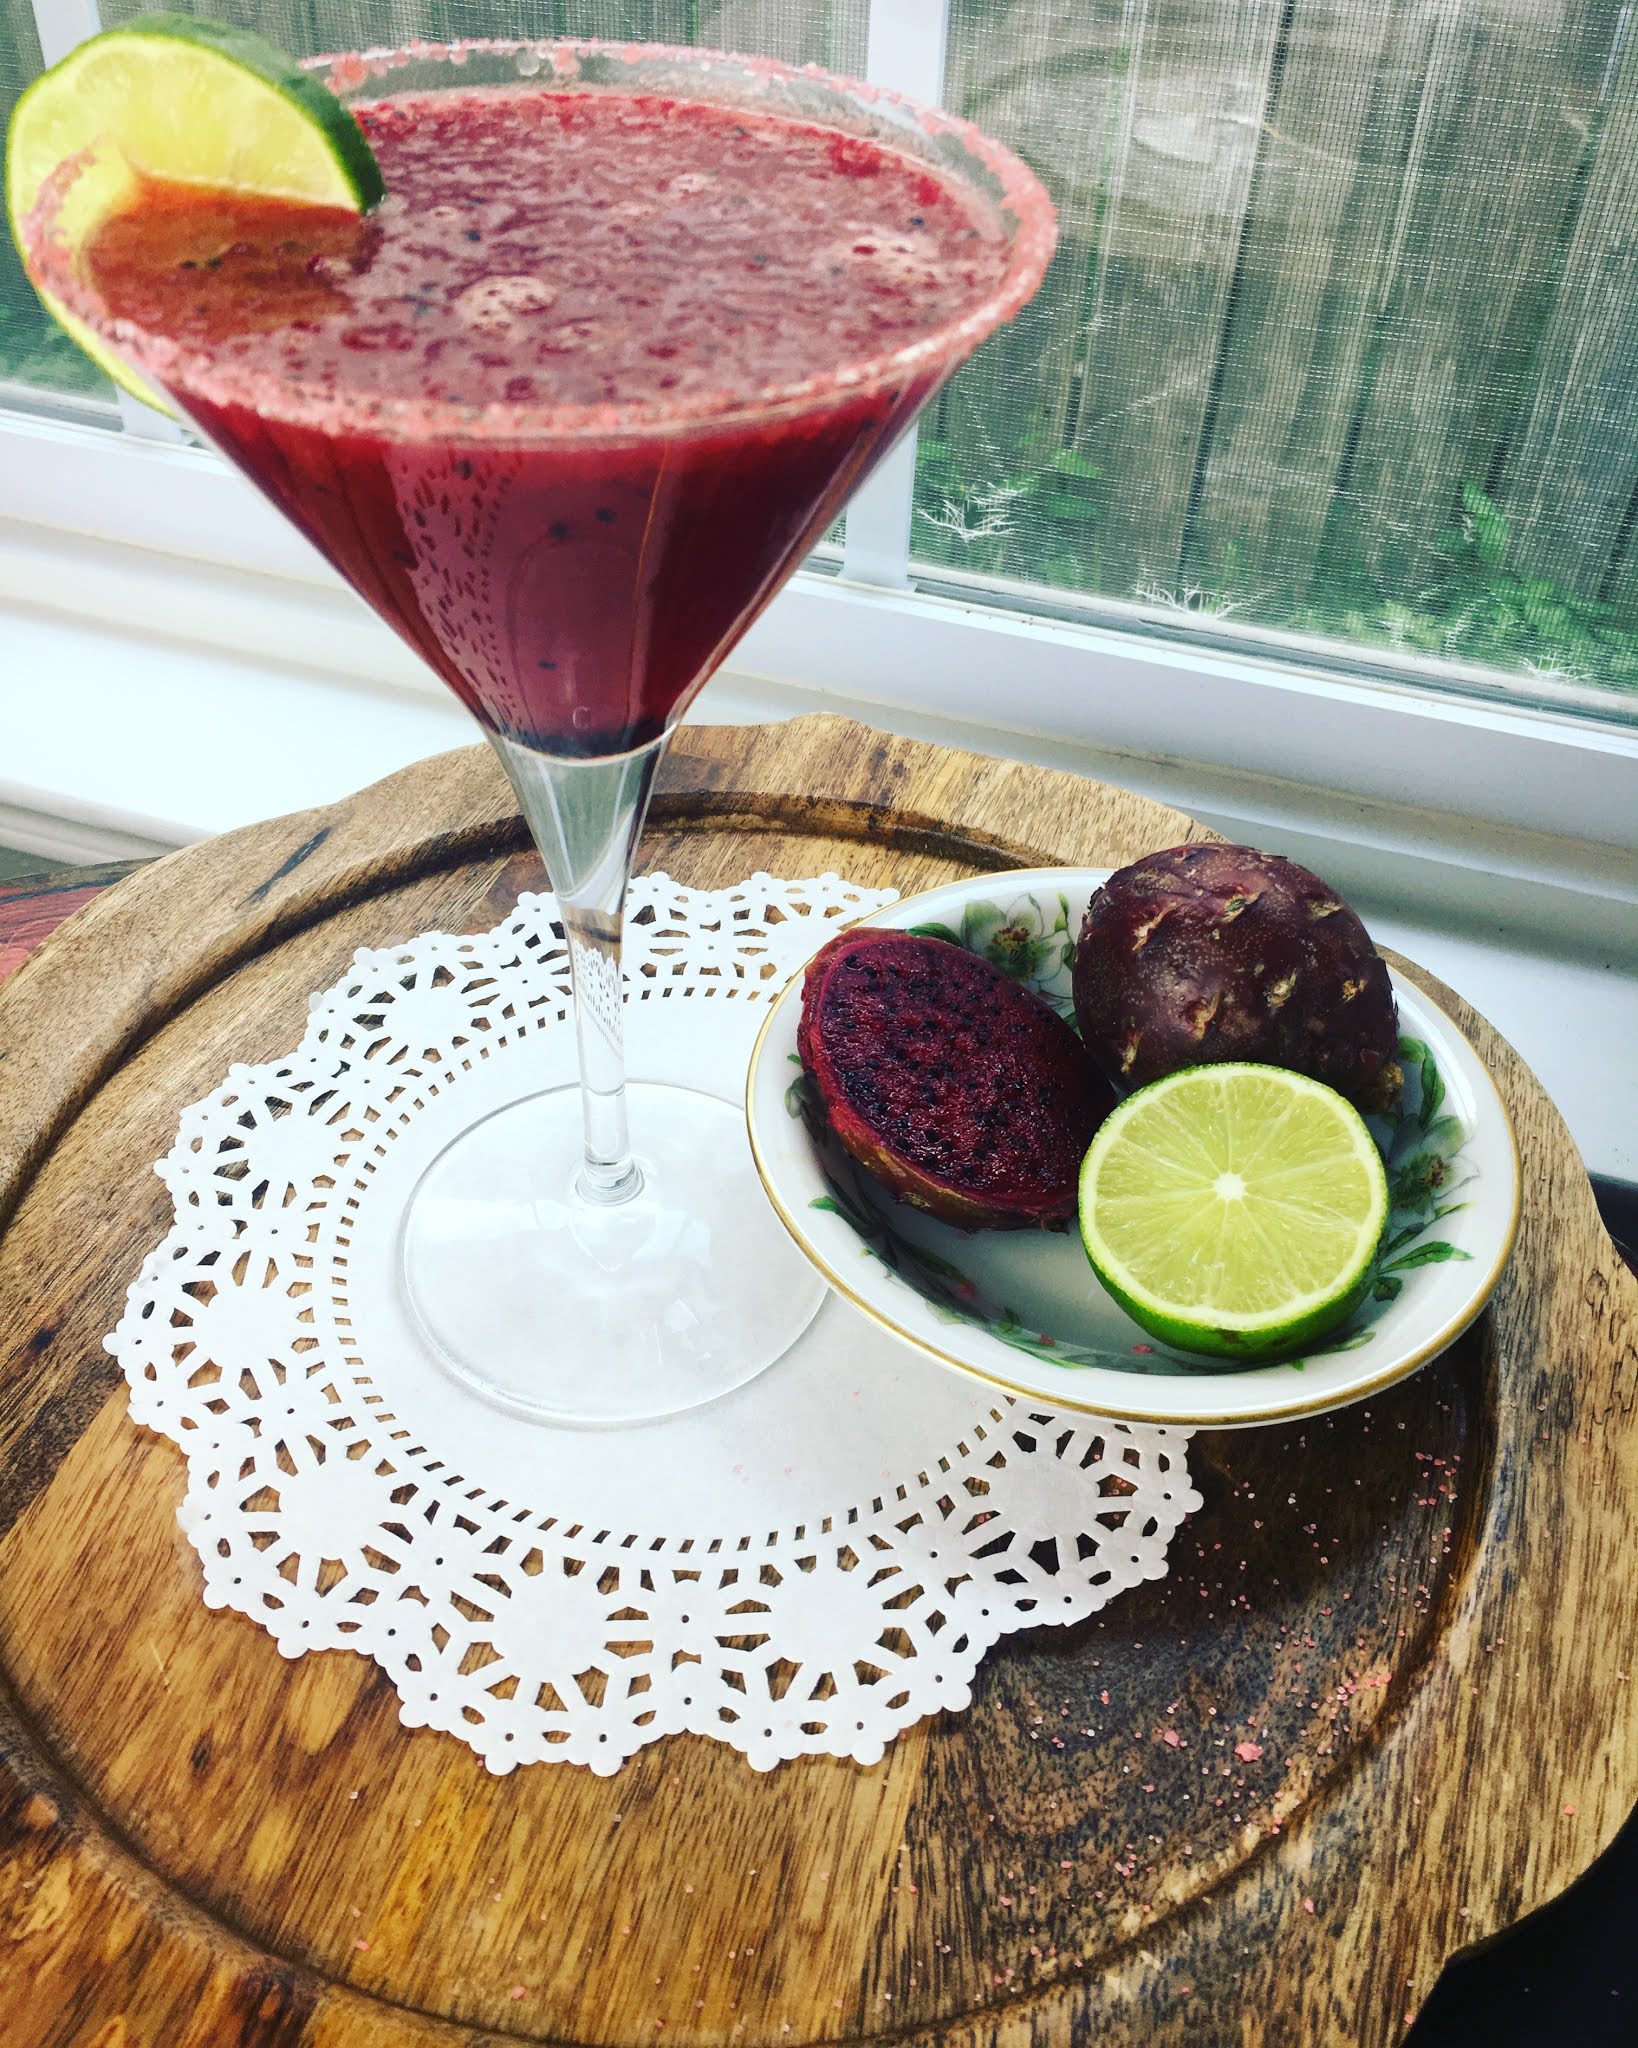
The 2017 Naranja Fabulosa wine, is more akin to an Italian Amaro. Lewis made this “wine” with 100% Estate Blanc Du Bois grapes, fortified with high-end Brandy and infused 6 months with estate-grown herbs and citrus peels. The wine served chilled, has a large citrus and earthy aroma. Upon tasting, you are tantalized by the bouquet of fresh herbs, ginger, lavender, and orange leaving you with a gentle long finish. Simply divine.


Now let's discuss the difference between an Italian amaro and vermouth. Yes, an amaro is similar to vermouth. Both are commonly enjoyed before dinner (aperitif) and both are infused with lots of herbs. But, according to Daniel de la Nuez and Aaron Fox of Brooklyn-based Forthave Spirits, “Vermouth must have a wine component while that is optional for an amaro. If the character and balance are primarily wine, it’s vermouth, if the wine is not the most dominant ingredient it can be an amaro.” Therefore, vermouth can be an amaro, but an amaro cannot be vermouth.


The Naranja Fabulosa wine could be an excellent vermouth replacement for cocktails, but I recommend it mostly as a dinner aperitif, served chilled. The complexity of this wine (secret vermouth) will not disappoint! 


Salute! 

Amore! 

Soldi! 


All in that order! 



~Tarabud


June 03, 2021

Italian Orange Cake

Hello foodies and Italian lovers! 

Perhaps a few of you know of my love for Italy. The country is so rich with history, culture, incredible architecture, that romantic language, and of course the food! Having found out about my 12% Italian ancestry, I'm even more proud to speak of my amore for the dolci vita! 

I recently learned that this Italian orange cake is often eaten in Sicily for breakfast. Isn't that decadent?! Here is my version of this cake without gluten. You can replace gluten-free flours with two cups of regular baking flour. Also, I mention the grapeseed oil in this recipe, but you can certainly use butter and it will turn out just as great. I think the main secret for this cake is plenty of orange zest. If you think you have done enough, do more! I went very gentle on the sugar, but if you want an extra sweet cake, add a full cup of sugar. 

Ingredients

2 cups of gluten-free flour

1/2 cup of tapioca flour

1/4 cup of pinenuts

3/4 cups of brown sugar

3 eggs 

1/4 cup of cream (or milk)

1/4 cup of fresh-squeezed orange juice 

1 Tablespoon of orange zest (or More!) 

1/4 teaspoon of baking powder

1/2 teaspoon of cinnamon

1/2 teaspoon of salt 

1 Tablespoon of powdered sugar for dusting the cake. 


Preheat oven to 355 degrees Fahrenheit. Butter your pan. 

I used a bunt cake pan, but a round cake pan will also do the trick. 

In a large bowl beat the eggs and sugar together. Next, add the oil or butter. Then, slowly add the cream, orange juice, orange zest, pinenuts, baking soda, salt, cinnamon, and flour(s). 


Pour batter into baking pan. Bake for 50 minutes. Once cooled for 10-15 minutes dust with powdered sugar. My hubby and I enjoyed it warm out of the oven because we couldn't wait to try it. So delicious! 

We stored it in the refrigerator in a covered container. The next day we warmed slices in the toaster oven and ate them with butter and orange marmalade with our coffee. Thank goodness for the Sicilians!  


Buon appetito! ~Tarabud


May 17, 2021

Sweet Pineapple Tamales


Sweet tamale time is upon us! We are so fortunate to have access to the best science and vaccinations in the world. Now is the best time to celebrate with dear family and friends we have not seen in over a year! There is no better way to celebrate together than making these pineapple tamale treats. They are surprisingly easy to make. I made these tamales in a small batch of six to show you how you don't need to spend hours making them. Double the recipe to make 12. 

Ingredients for Corn (Masa) Dough

1 cup of masa harina flour (stone-ground corn flour) 

3/4 cup of chicken broth  

A pinch of cumin, turmeric, oregano

1/2 teaspoon of salt 

1/2 teaspoon of baking powder

2 tablespoons of sugar 

5 tablespoons of melted butter 

Ingredients for Pineapple Filling

1 cup of chopped pineapple 

1/4 cup of sugar

1 teaspoon of cinnamon

1/2 teaspoon of cloves 

Additional Ingredients

6 corn husks (soaked in warm water for an hour or more)

6 - 15 inch strings 


First, begin by soaking your corn husks in warm water while you are preparing other things. Cut 6 strings each into15 inches in length, and set aside. 

Next, in a medium saucepan warm up the chicken broth and add a pinch of each of the following spices: cumin, turmeric, oregano, and two tablespoons of sugar. Simmer for a few minutes. (This broth will "active" the masa harina later and add some real goodness to your dough. Your tamales will have a sweet and savory flavor.) 

Next, In a large bowl, start with the melted butter, and add part of masa harina and some broth. Keep adding masa harina and broth until fully mixed. Add the salt, and baking powder to this mixture. Mixing all ingredients until they are well incorporated and your dough is tacky. Make your masa into a rounded mound and cut into 6 even pieces. This will help your tamales to be all the same size. Set bowl aside.

Next, focus on preparing the pineapple filling. Cut pineapple into small chunks. Place in a small saucepan, and add the cinnamon, clove, and sugar. Warm-up on low heat for a few minutes, so sugar is slightly caramelized. 


Finally, you are ready for filling your corn husks. I first strain them in a colander so they are just slightly damp. I place one corn husk on a cutting board. 


Taking one of the masa portions you already divided, place it on one of the corn husks and spread it out with the spatula. 
Add the pineapple mixture to it. (I was slightly generous with the above pic.) 

Next, you are ready for folding and tying your tamale. I like to tie the strings into a bow, so they are easy to untie at the table. I took lots of pictures so that you can follow along. I hope my step-by-step picture series helps! 
1                                                                                             2                                                                                          3
   4                                                                             5                                                                               6
    
Once you finish wrapping your six tamales, place them in a large pot to steam on medium heat for 1 hour. I like to add an extra 15 minutes for good measure. Make sure you check that there is always plenty of water at the bottom of your pot. 


 Once cooked these tamales can be kept in the refrigerator in a covered container for up to a week. Better yet, freeze them if you think you might not eat them in time. 
Serve your tamales hot with hot chocolate and good friends and family!
Happy Days Cooking & Eating! 



~Tarabud 


May 15, 2021

Prickly Pear Mocktail


How about the color of this prickly pear? It's just spectacular! And happily, this mocktail comes packed with nutrition as well. 
One prickly pear has: 

  • 42 Calories
  • 1 gram of Protein
  •  0.5 grams of Fat
  • 10 grams of Carbohydrates: 
  • 4 grams of Fiber
  • 0 grams of Sugar
  • 0 milligrams Cholesterol
  • 5 milligrams of Sodium

  • The prickly Pear is surprisingly good for cardiovascular and metabolic health. All cactus fruits contain a variety of antioxidants known to protect cells in the body. These antioxidants help to reduce triglycerides and bad cholesterol levels in your body. They're also able to reduce body fat percentages. Plus, not to mention the nutritional content. Cactus fruits are rich in a number of vitamins and antioxidants such as Vitamin C, Vitamin E, Vitamin K, Beta-carotene, Potassium, Magnesium, Calcium, and Phosphorus.

Now let's get down to business making this fun Mocktail! 


Ingredients

1/2 of a prickly pear
1 Tablespoon of lime Juice 
1/3 cup apricot or peach juice
1/3 cup sparkling water (ginger beer) 
1 teaspoon of agave
two ice cubes 
Grapefruit rimming salt
1 lime wedge for glass


Take your prickly pear and carefully cut it in half. Spoon out the pulp and place in a cocktail mixer, with all the above ingredients, minus the ice cubes. Now muddle contents right in the mixer, and carefully stir liquid a few times.

(The ice cubes can be added to the mixer but when pouring into a glass with the strainer, you won't get much of the pulp goodness. That is why I add a few ice cubes after.) 

Now rub the glass with the squeezed lime peel. Take a plate and sprinkle some salts on it. Invert glass to rub the edge of the glass in the plate. 

Now pour the context of the mocktail liquid into your glass. 
Cut a thin slice of the lime for the glass rim.

The recipe makes one glass.

Enjoy with like-minded friends! 

🍸🍸
 
~Tarabud

April 27, 2021

Shrimp Scampi & Basil Pesto Pasta


Above is the delicious shrimp scampi over basil pesto pasta I cooked. Below is another matter. I love this picture of Robert De Niro enjoying something from Catherine Scorcesse's kitchen. It's a timeless moment in life watching someone savoring something she slaved over in the kitchen. Life is beautiful and food should be this savored, making our lives that much better! 


The latter thought brings me to my philosophy on food. Yes, the planet's ecosystems are in a precarious state, and we must do better stewardship of our planet, but we must also be cognizant to bring joy to our lives. The joy of cooking and eating at home, especially with others is so very important to keep us thriving and sane. We cannot go out into the world and solve ecologically urgent problems without a belly full of happiness/sustenance. It's important, and we so often forget to fill ourselves up with a well-thought-out home-cooked meal. In that sense, we can thank the pandemic for slowing us way down and forcing us to cook at home. Maybe the only good thing that came out of the pandemic? Am I right?! 

For the above reasons and more, I started this blog. I thank the blogger of Nosh with Julie Chef for reminding me why I started this blog in the first place! (Her interview coming soon.) We must celebrate every day with friends or family over the foods we cook at home. We have to give thanks, making each meal a special ritual for being on this planet with so much abundance. I know the pandemic has put quite a damper on celebrating and enjoying our meals, but once we are all mostly vaccinated, we will return to living and thriving!

Now for these easy recipes! 

First, put the water to a boil for your preferred pasta. 
I am currently using gluten-free pasta, but any shape or kind will do.

Second, make pesto sauce.


Ingredients for the pesto sauce. 

 1 cup of fresh basil leaves.
2 garlic cloves 
1/4 cup of olive oil 
1/4 cup of grated parmesan cheese 
1/4 cup pine nuts (or walnuts)

Using a mixer, blend all ingredients until a smooth paste. Should be done in a minute on high. Now set it aside in a large bowl.

Third, make the sauce for the shrimp.

Ingredients for a Scampi Sauce 

1/2 cup of olive oil
2 tablespoons lemon juice 
1 teaspoon of lemon zest 
4-5 garlic cloves minced
1/4 cup chopped fresh Italian Parsley
1/2 teaspoon of salt 

In a large bowl wisk all ingredients above. 

Fourth, cook the Shrimp Scampi 

12 raw shrimp.

Prepare your shrimp by taking the outer shell off each one carefully. If your shrimp have not been deveined it must also be done. And when I say "vein" I really mean intestinal track. Taking one shrimp at a time, with a knife slit the top of the shrimp open to reveal the vein and remove it. You will easily spot the vein as it usually has debris and looks dark.  
Now that your shrimp are ready, place shrimp in the large bowl with the scampi sauce and toss. 

The shrimp scampi is a breeze to make, and extra delicious if you can cook them over the BBQ, but a hot iron skillet will do the trick. Place them on the BBQ on medium heat or cook them on a stovetop in an iron skillet on medium heat. 

When using a BBQ they cook very quickly, maybe 3-4 minutes each side. 
For stovetop, they cook a little slower, but you'll know when they are done when they are no longer translucent.  

Fifthly, drain your cooked pasta and put it in the bowl with the pesto sauce. Stir pasta in pesto sauce then transfer pasta to the plates. 

Finally, place your shrimp scampi on top of the pasta and serve hot! 

I usually serve this dish with a side salad, but on this day I chose to cook some asparagus on the grill. 

The above recipe makes 2 servings. 

Enjoy with family and friends, savoring each bite! 
Now go out and thrive!

~Tarabud 

March 22, 2021

Saffron Citrus Cooler ~ Happy Spring!


Happy Spring Equinox my followers! 

This being my favorite time of year, I thought I'd share some lovely California poppies taken by my friend in the hills of Walnut Creek. This season brings so much hope of rebirth and renewal, which we all need after this long dark year we have just passed. 

Also, I want to share my delicious recipe for a refreshing spring mocktail! 

The Saffron Citrus Cooler is inspired by one of the most expensive spices on the planet. The plant is hand-harvested for each precious stigma of its flower, hence the price. (Saffron crocus is a fall bloomer with purple petals, yellow stamens, and a three-part red-orange stigma that becomes the saffron strands. It takes a delicate hand to separate the stigma from the plant and not damage it.) 

Fortunately, a little pinch of this spice goes a long way. The saffron spice provides innumerable health benefits with its antioxidants properties. Many of the health benefits, are not yet tested but well known to improve mood, libido, and sexual function, as well as reduced PMS symptoms. Whether you are making this mocktail for the health benefits or just for the delicious refreshing drink, you won't be disappointed. 


Ingredients:

4 cups of water 
1/4 cup of honey 
1/4 cup of maple syrup 
3/4 cup of fresh-squeezed lemon and lime juice 
3/4 cup of orange juice 
1/2 teaspoon of saffron threads

Directions: 

In a saucepan combine 2 cups of water and honey on low heat. Stirring until the honey is dissolved. Remove from heat and add saffron threads. Now set aside for 30 minutes while saffron threads steep in warm water.

In a pitcher stir in 2 cups of water, maple syrup, lemon, lime, and orange juices.  Once the saffron mixture has set, the liquid will be a vibrant yellow and can be added to the pitcher mixture. 

Serve your Saffron Citrus Cooler in an ice-filled glass with an orange wedge! 

Pitcher serves more than 6 glasses. 

Cheers to your health and wellbeing! 
~Tarabud 

March 16, 2021

Jamaican Jerk Chicken Marinade


When my husband bought us our first Weber grill, I was on a mad looking for marinades that were AIP friendly. Eventually, I just had to make up my own. This recipe is quite easy and can be made on a grill or the oven. Both methods turned out great.  

Ingredients: 

1/3 cup of Coconut Aminos (Soy Sauce alternative) 
1/3 cup of green onions chopped
1 finger of ginger peeled
2 cloves of garlic
Juice of 1 lime 
1/2 teaspoon of lime zest
2 tablespoons of brown sugar 
1 tablespoon of olive oil
1/2 teaspoon of oregano
1/2 teaspoon of thyme 
1/2 teaspoon of cinnamon
1/2 teaspoon of nutmeg 
1/2 teaspoon of cumin
1/2 teaspoon of black pepper
1 teaspoon of salt 
1.5 pounds of skinless chicken breast

2 Tablespoons of olive oil set aside for the grill. 

In a blender or mixer combine coconut aminos, green onions, garlic, lime juice and zest, olive oil, brown sugar, oregano, thyme, cinnamon, nutmeg, cumin, black pepper, and salt, and blend until smooth.


 Next: cut chicken breast into strips. Place chicken in a shallow dish and pour marinade over chicken. Toss the chicken so it is coated fully by the marinade. Let chicken marinate for at least 2 hours in the refrigerator. I left my chicken to marinate overnight and the flavor was incredible!  
Recipe serves 3 generously


Grilling 

Heat the grill to medium heat and oil the grates with the extra olive oil. Grill chicken for 10 minutes turning the pieces over so that they are evenly grilled. Lower heat and brush with the remaining marinade in the bowl onto the chicken strips. Now cook for 10 minutes longer. This will ensure the meat is cooked inside the strips. 


Baking in Oven

When ready to bake chicken Preheat the oven to 400 degrees. 
On a cookie tray covered in foil, place chicken strips evenly apart. drizzle remaining sauce in the bowl onto chicken strips. Once you place the chicken tray inside the oven lower the heat to 375 degrees. Cook for 40-50 minutes depending on your oven. 


Enjoy with family! 
I found some grilled pineapple was a great compliment to this chicken. 

Let me know how you enjoyed your Jamaican Jerk Chicken in the comments below. 

Tarabud


March 08, 2021

Gremolata with Pistachios and Cranberries


Sometimes you need a little extra help to make your simple meal utterly delicious. I just discovered the Gremolata condiment and I am very excited to share a new recipe with you!

It is said that the word originates from the French word 'gremolade.'  Though the word origin will never be known fully, Italian cuisine has perfected this condiment. Maybe you have heard of the popular dish from Milan Italy, made from a cross-cut veal shank called Osso Buccco alla Milanese? I must try it one day when I go to Italy. 

My gremolata recipe is close to the original version with parsley, garlic, lemon zest at the base but I added cranberries, pistachios, and some orange zest and juice! How about them oranges? We are lucky to have them in season in late winter. This gremolata mix turned out fabulous! I generously sprinkled it over the yellow beets and pan-sauteed lemon garlic chicken, laying on a 1/2 cup of rice. This recipe makes two even servings. 

Ingredients: 

1/4 cup of parsley 

2 teaspoons of lemon zest

2 teaspoons of orange zest

2 garlic gloves 

1/4 teaspoon of salt

1/8 teaspoon of pepper 

2 tablespoons of dried cranberries 

2 tablespoons of roasted pistachio nuts

1/2 teaspoon of lemon juice

1/2 teaspoon of orange juice 

1/2 teaspoon of olive oil 


Put all ingredients in a mixer. I used my Oster mixer on Grind then Blend for less than a minute. Presto you are done! 

Add to any dish you feel needs extra flavor.

Let me know how it turned out for YOU in the comments below. 

Tarabud

